Add Files from Google Drive
Note: This just brings a copy of the file into Moodle. If you update the Google file, it will NOT update in Moodle. If you want to keep the Google file editable, simply link to it.
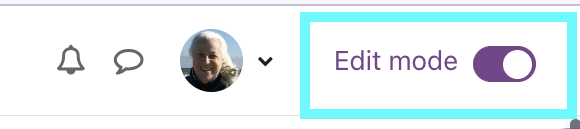
1. Click the Turn Editing on button
2. Click the Add an activity or resource menu in the section where you want the file to live.

3. Choose the File activity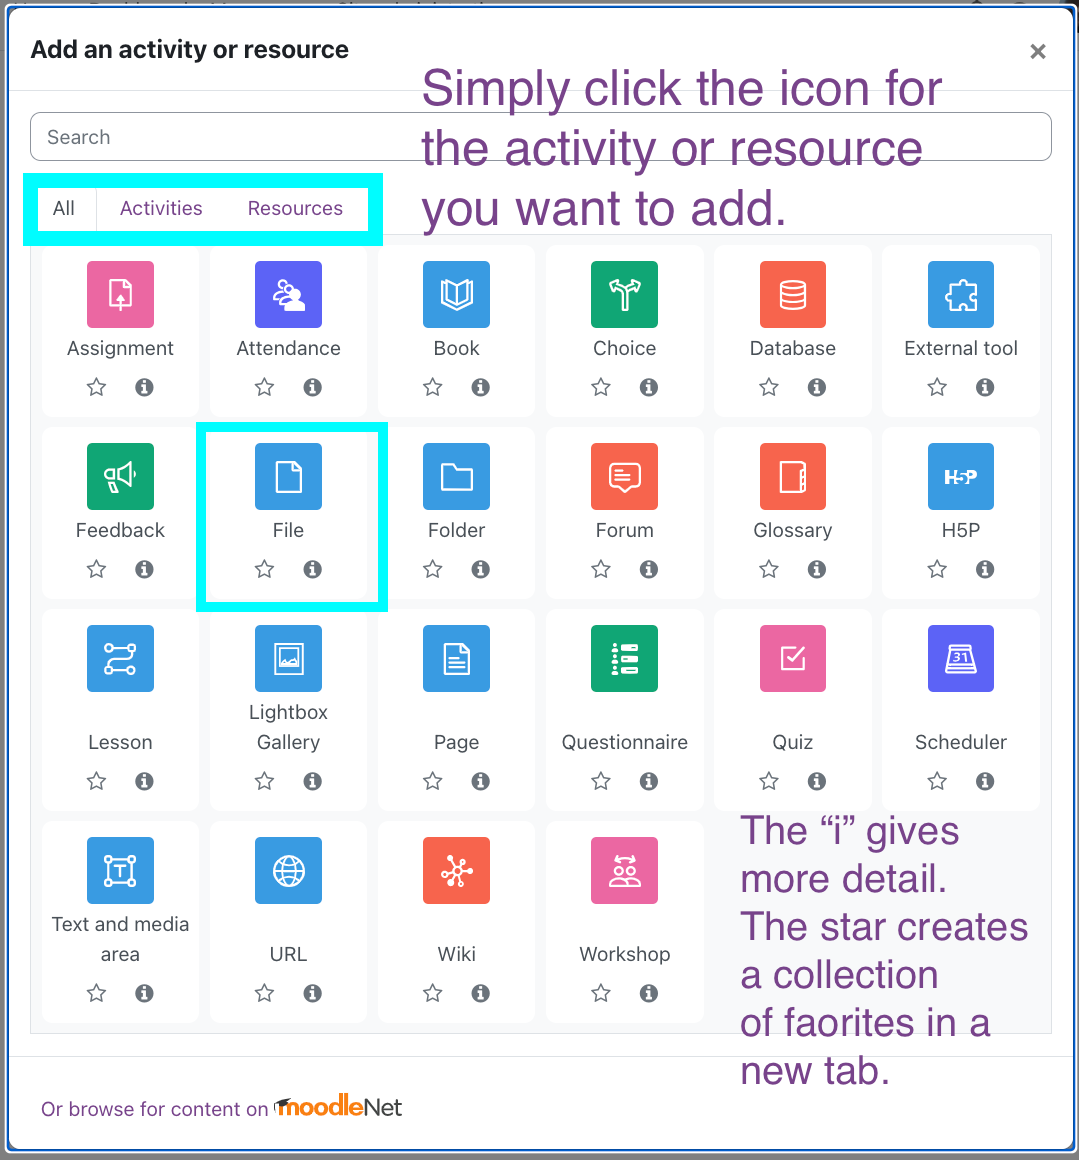
4. The dialog box that opens next requires you to enter a name or the title of your file. Then click the tiny file icon to go to the file selector. Choose from Drive and find your file. You can use search. Note: this makes a copy of your file and turns it into a .pdf. It is no longer editabe in Moodle. If you edit it again in Drive, you must upload the new version to Moodle.
Name your file.
- This text will appear as the link on the main course page.
- The description is optional, but you can have it appear on the main course page by checking off the box.
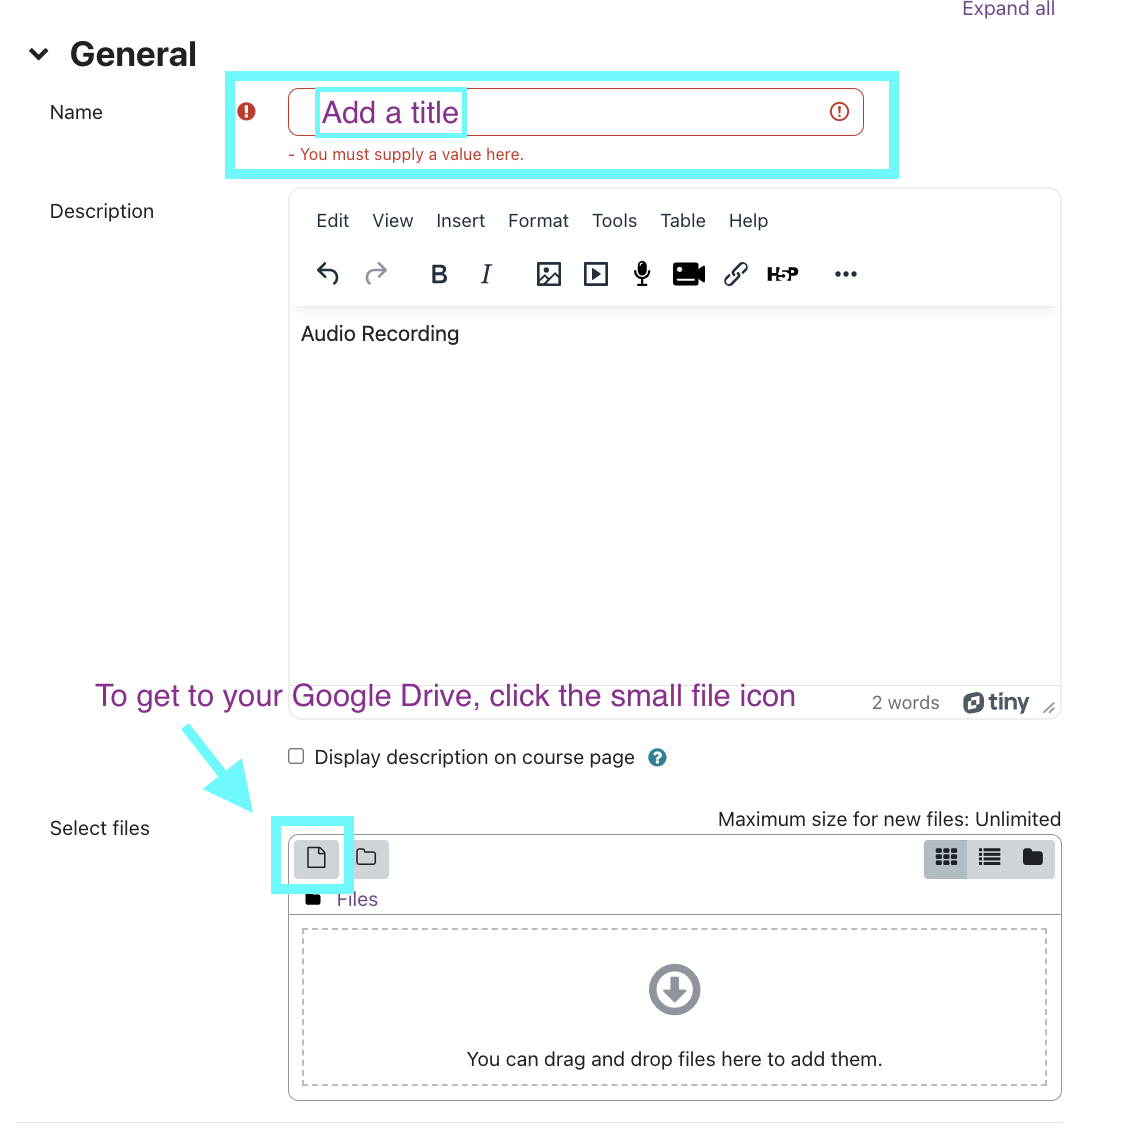
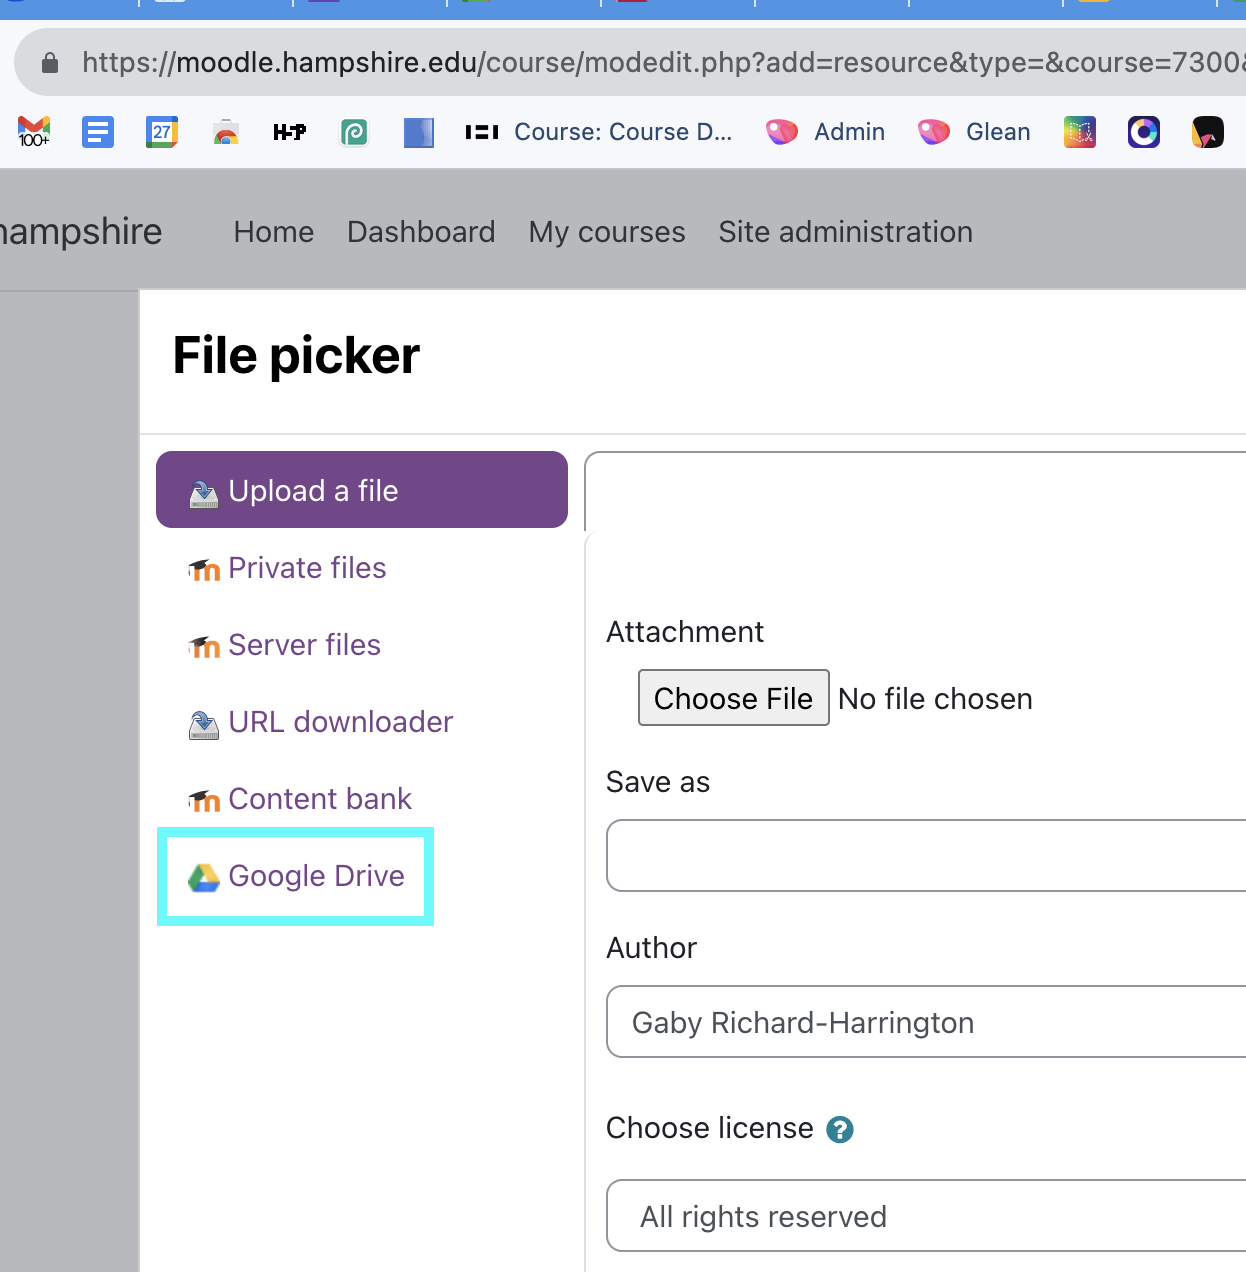
5. Click the Drive Icon on the left. ![]()
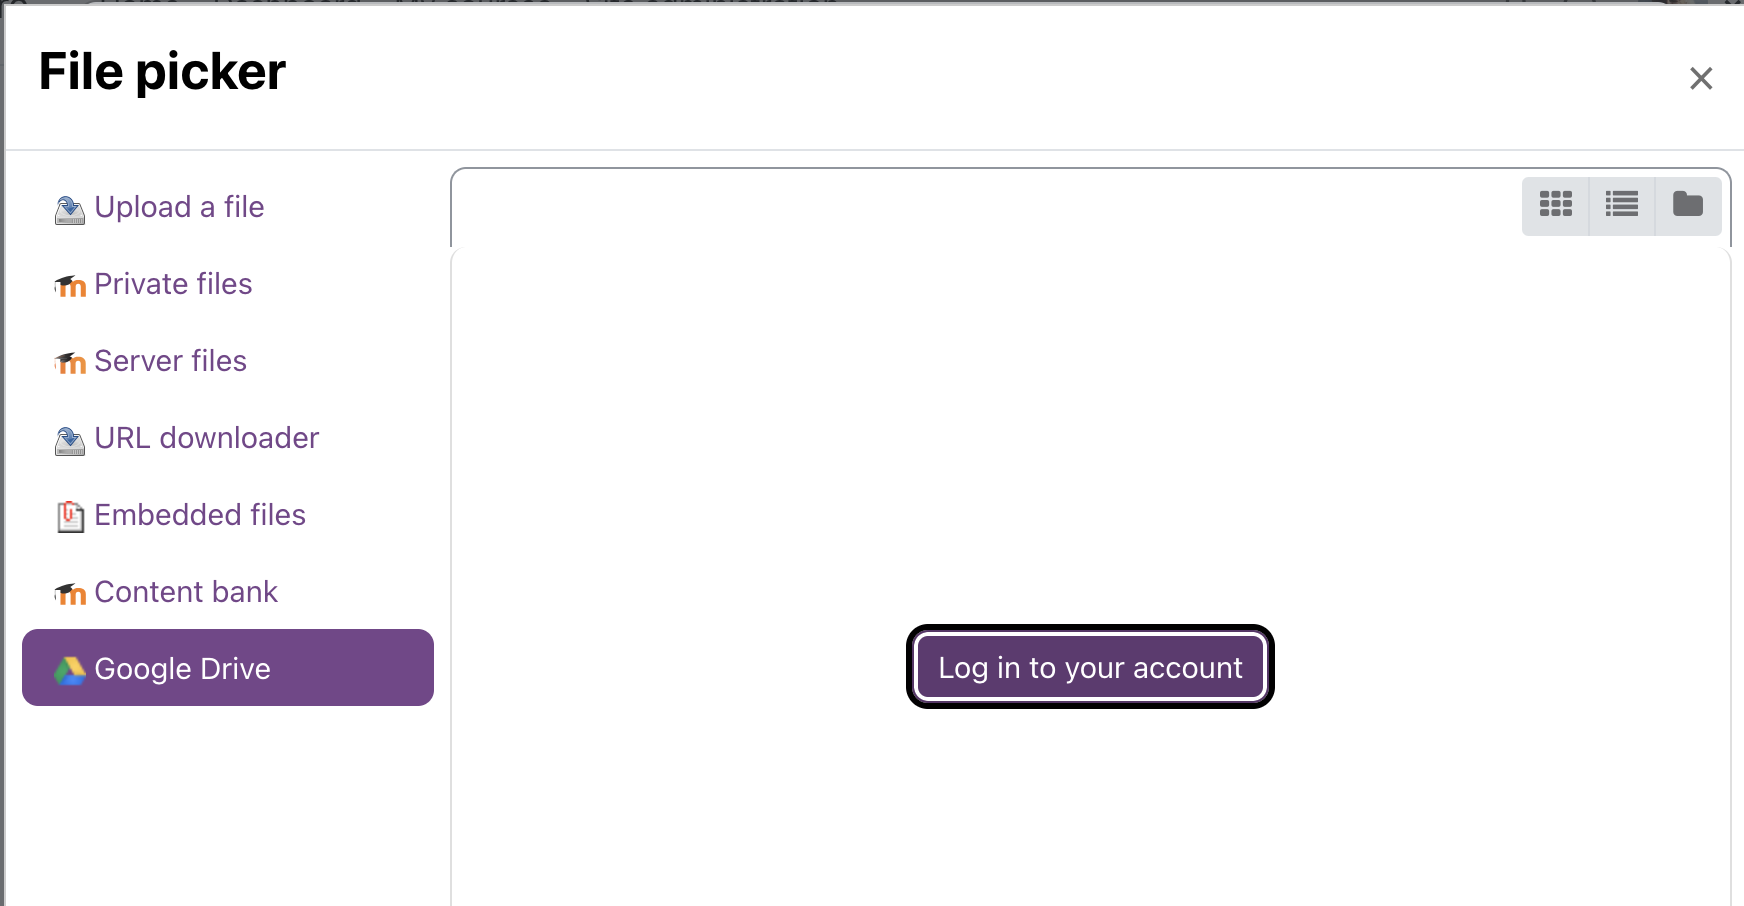
6. If you are not currently logged into your Hampshire Google account, a log in screen will pop up. Log in with your Google account.
7. Choose your account.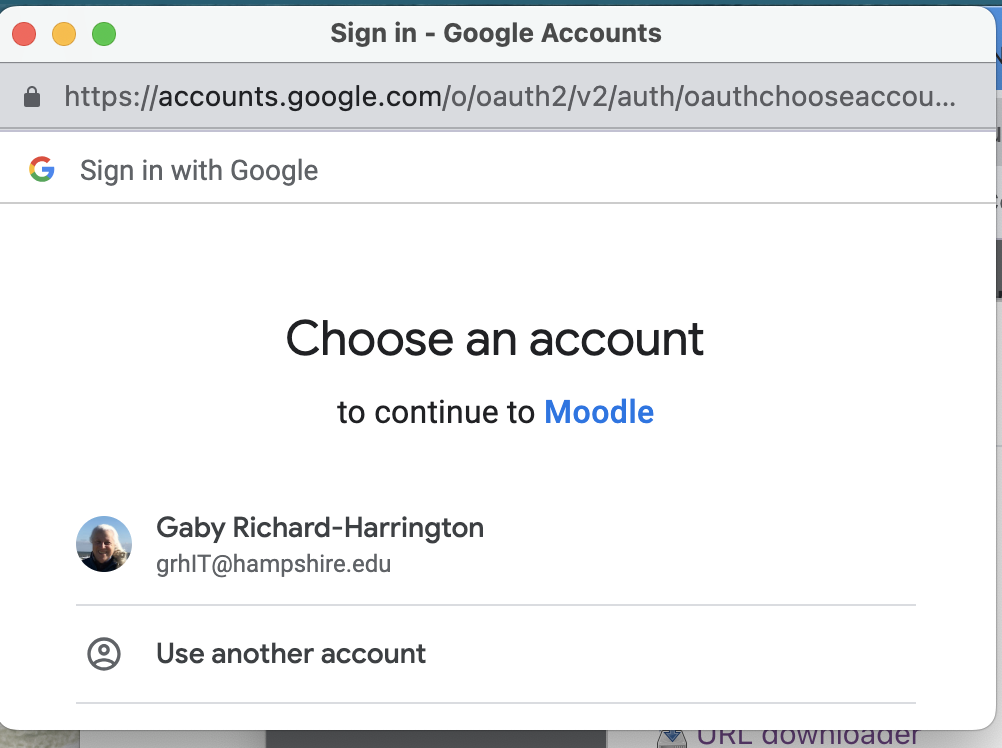
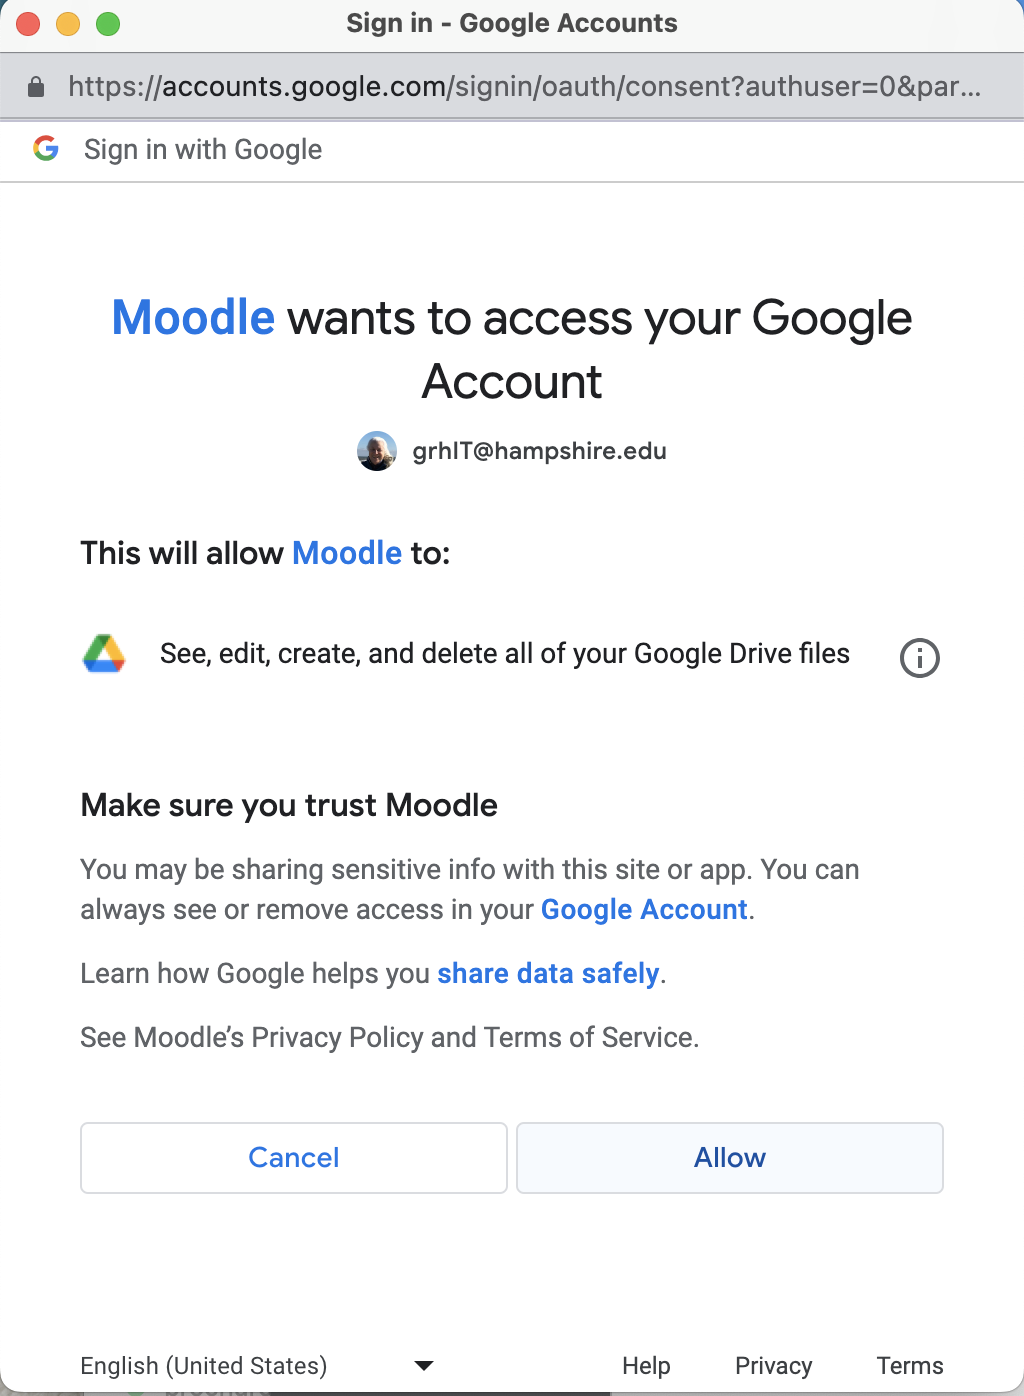
8. If you get a screen like this for either service, say Allow.
9. You will see your Google Drive files.

10. Click the file you want to add.
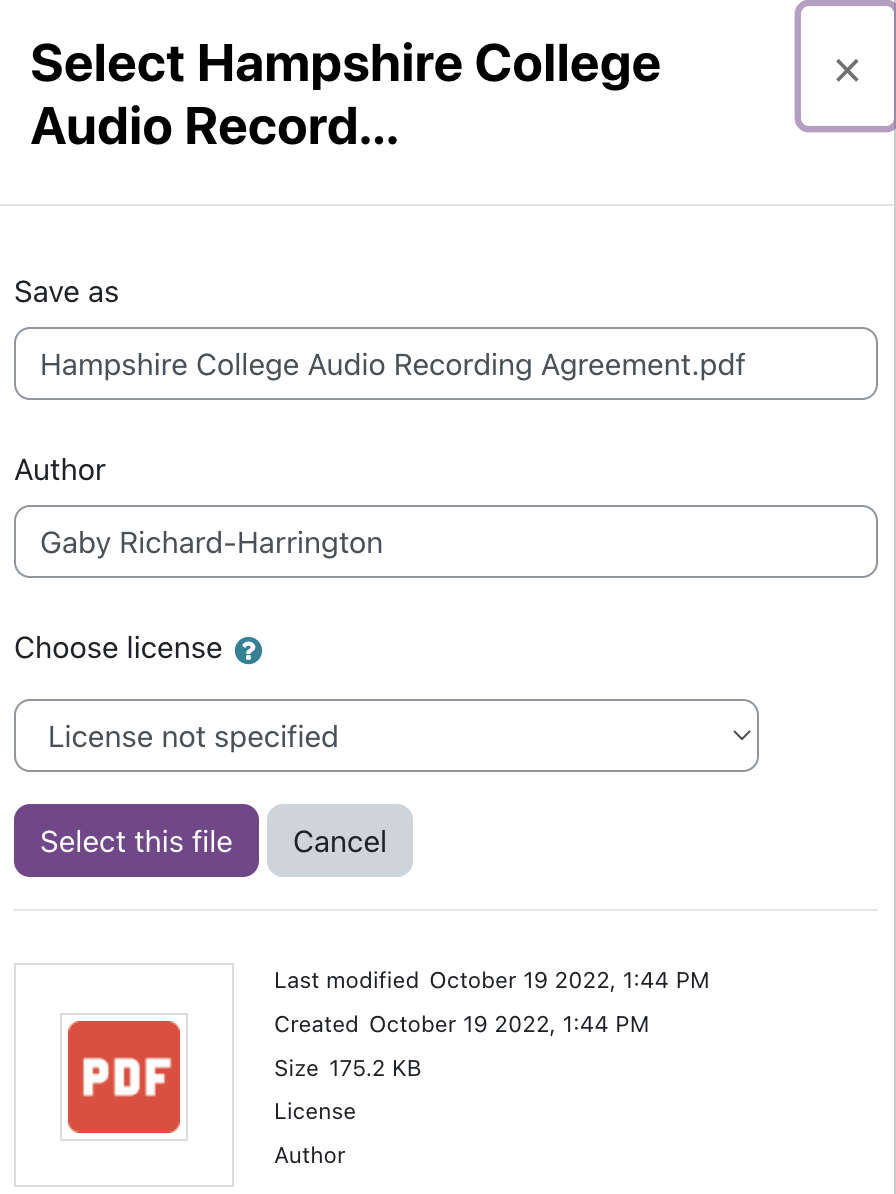
11. Click "Select this file".

12. Click Save and return to course.
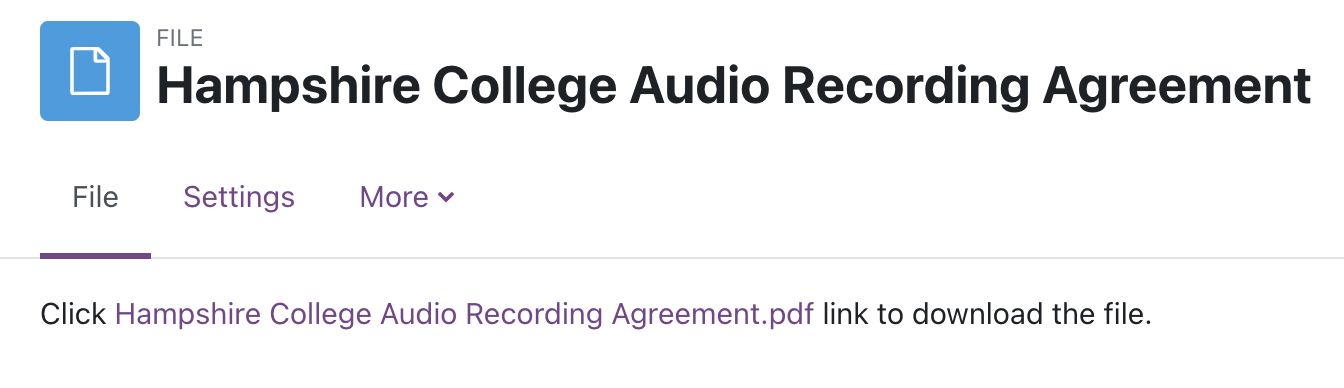
13. You'll see the file on your course page. Click Edit to make changes or the pencil icon to rename.