Set Up and Take Attendance
Attendance Video:
Attendance Feature Facts:
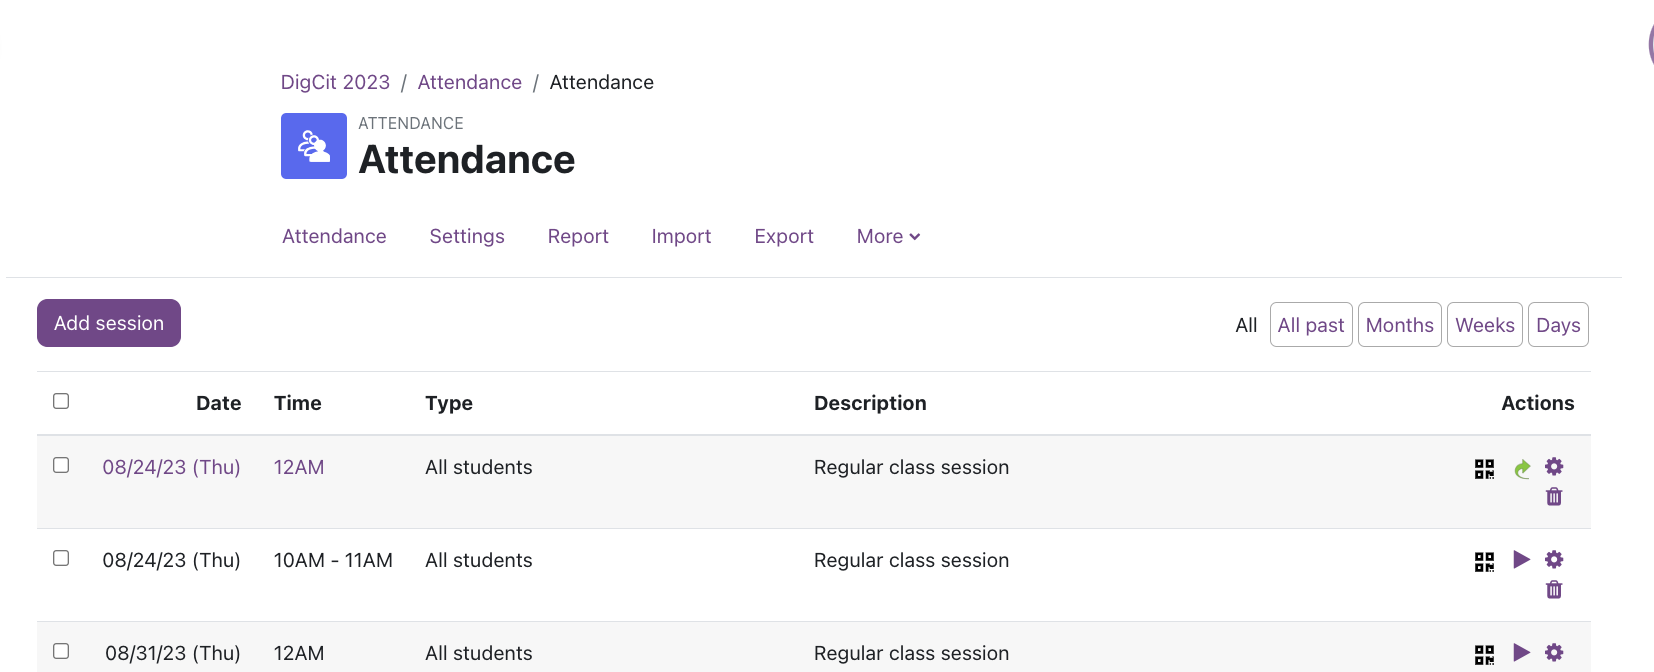
What You See: Once you set up the attendance activity, you can click on it to see a list of class sessions. For each session, you can click on the round button to take attendance, the review icon to view attendance that was already taken, or the gear to change settings.
What Students See: Students can click into the Attendance Activity to see their OWN information only. They'll see a summary, their attendance percentage, and then detail for each class meeting including your remarks.
Add the Attendance Activity
- Turn Editing On for your course.
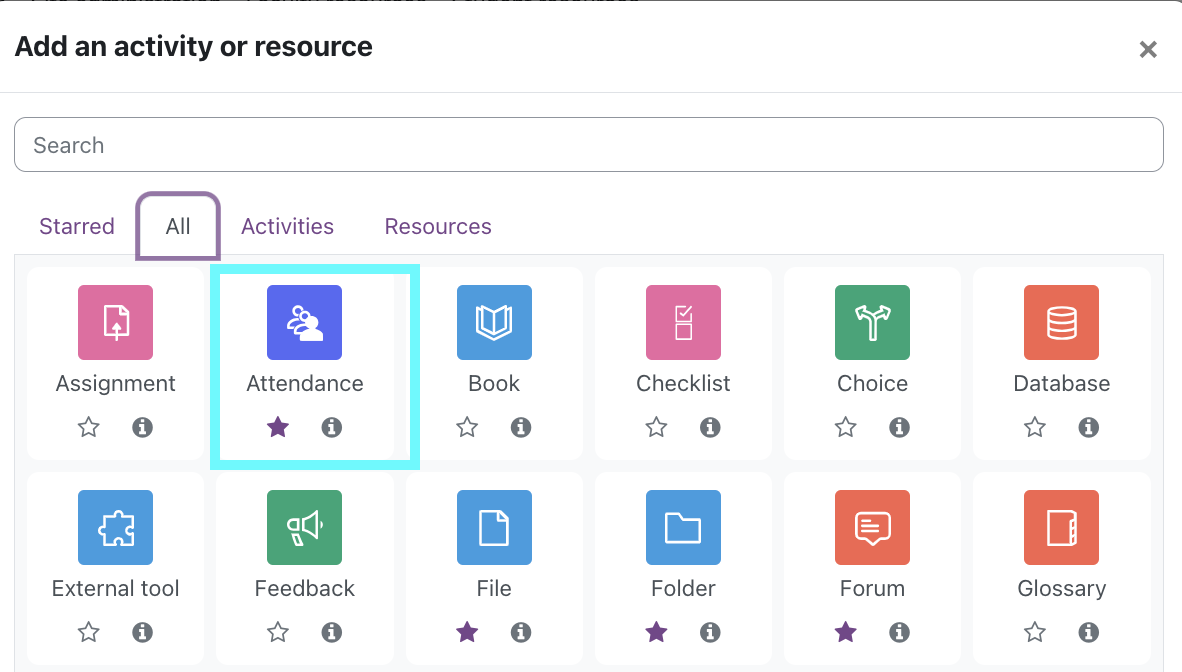
- In the section where you want the attendance activity to live (we recommend the very top, undated section), click the Add an Activity or Resource link.
- Choose Attendance.
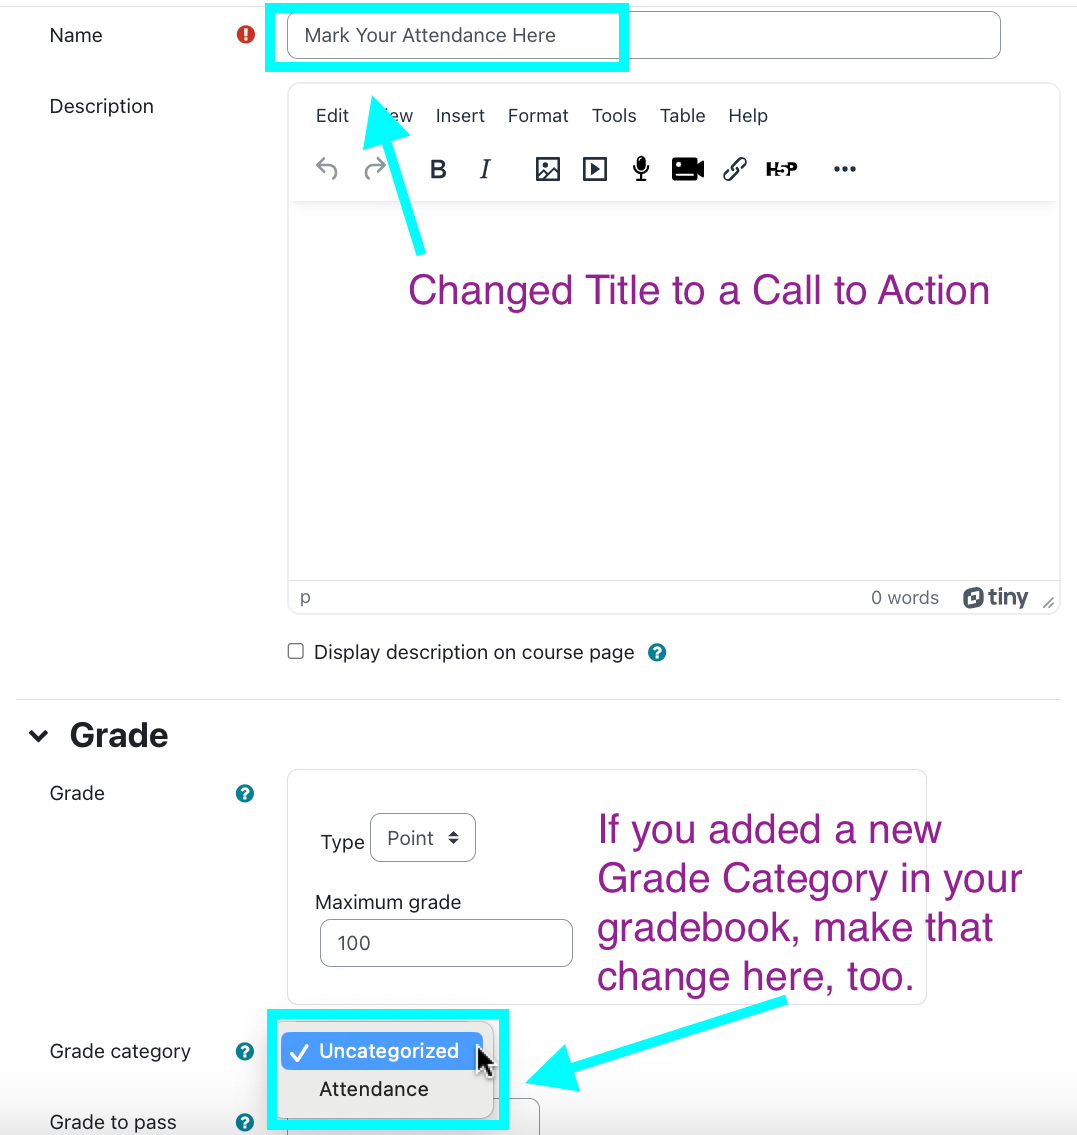
- Rename the activity if you want, and click Save and Display.
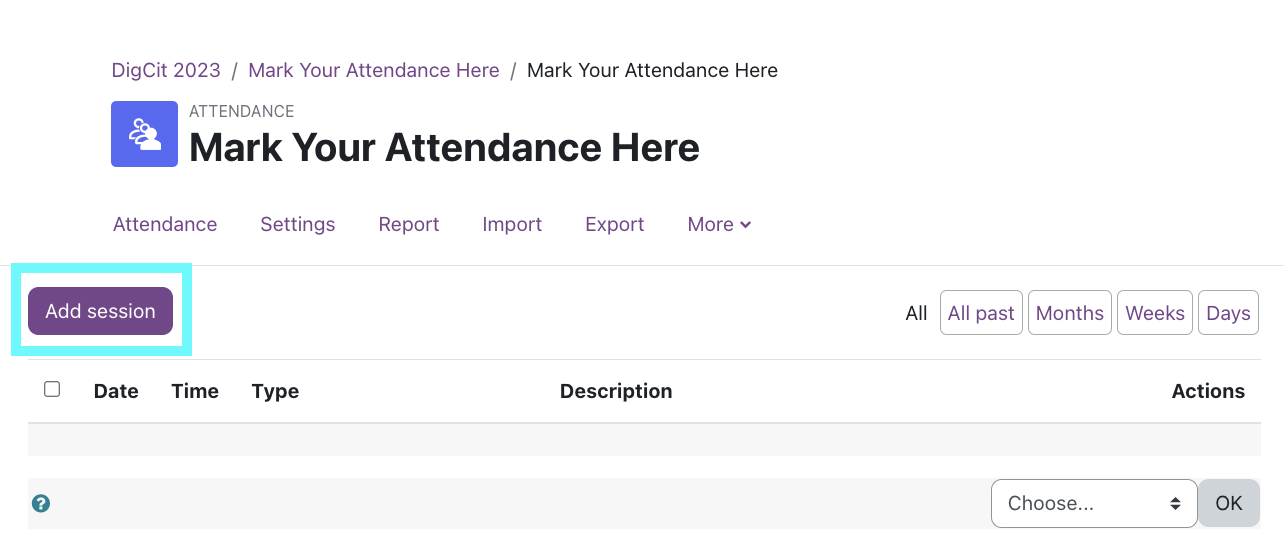
- On the next screen, click the Add Section tab.
-
Choose the start date for the class. Optionally, choose a start time as well.
-
Under Multiple Sessions, select the checkbox for Repeat the session above as follows.
-
Check off the days of the week that your class meets.
- Choose the end date for the class.
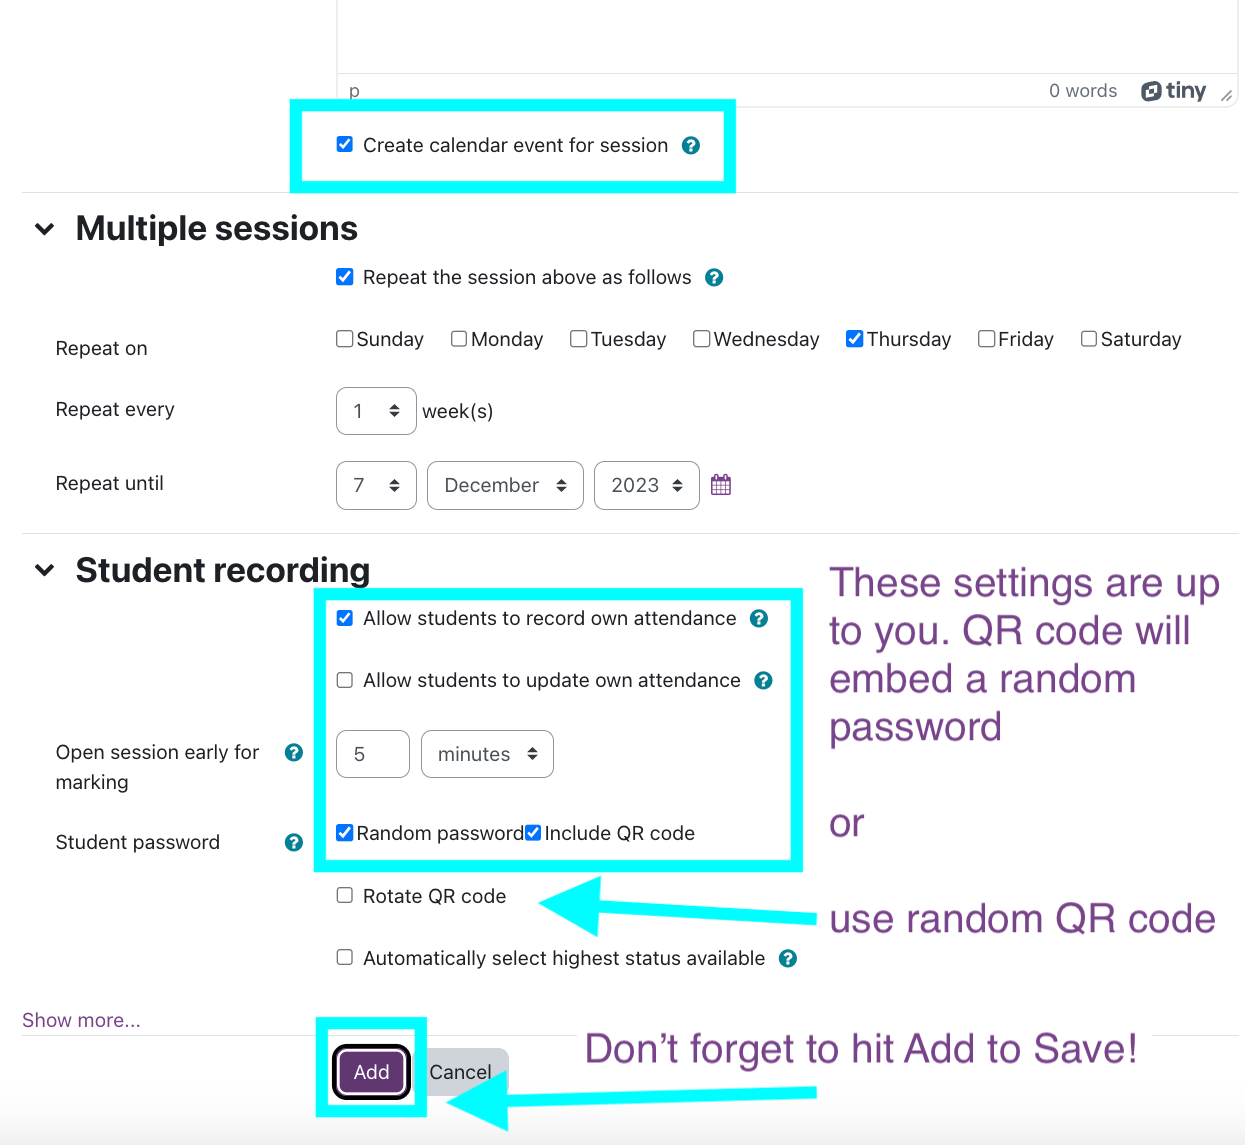
- Click Add.
- Your attendance activity will be created. You can go back to your main course page.
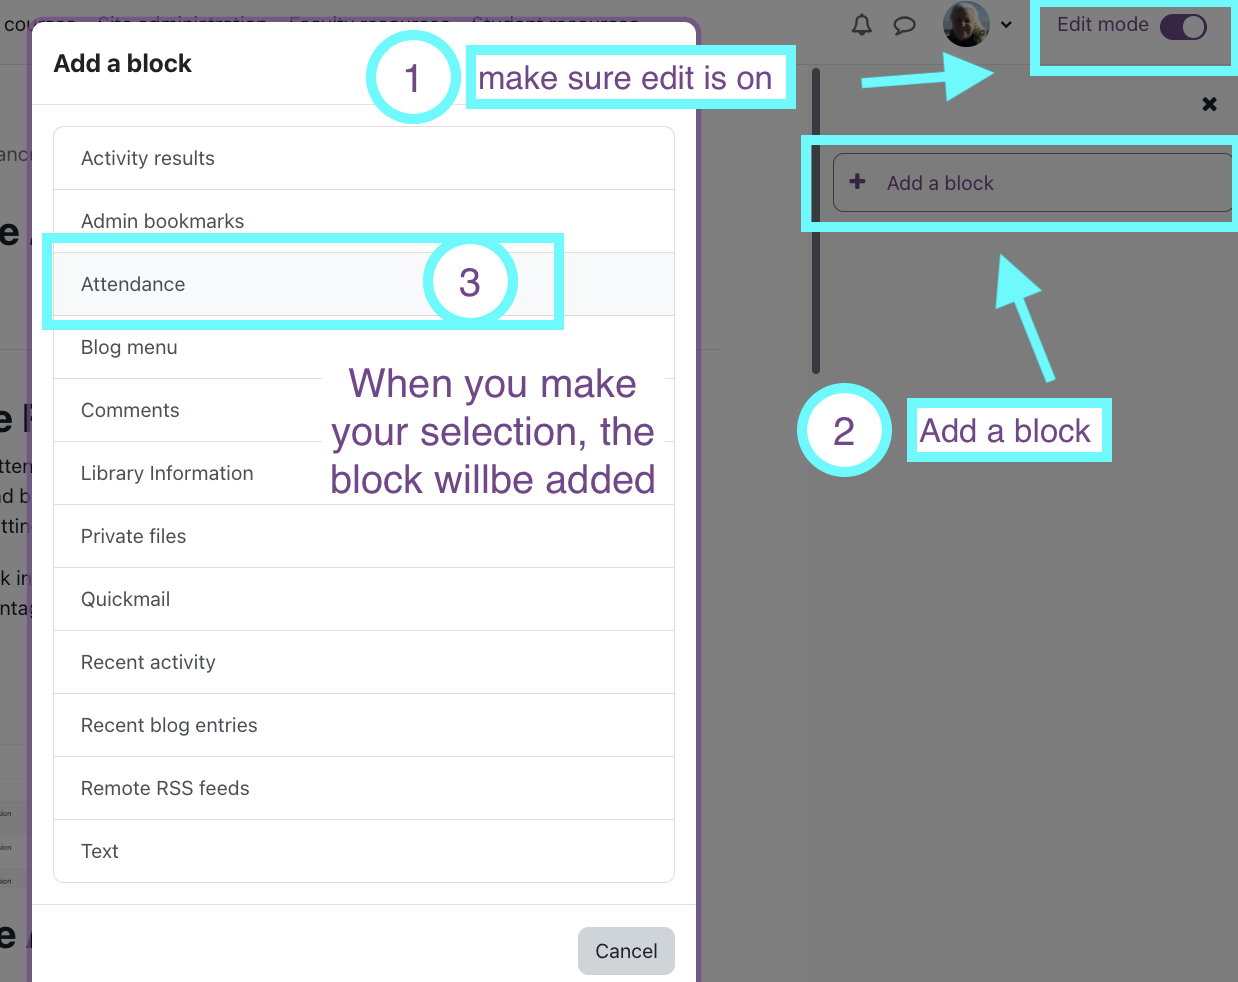
Optional: You can also add in the Attendance block with quick links for attendance taking by finding the Add a Block dropdown menu on the right side of your main course page.
To Take Attendance:
- Click the link for the Attendance activity on your course's home page, or in the Attendance block if you've added it.
- Click the purple triancle in the Actions column for the class meeting you want to take attendance for. The green arrow indicates sessions for which attendance has already been taken.
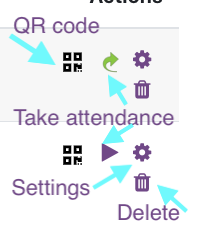
- Here you can also change the settings, delete, or display a QR code that students can use to submit their own attendance

- If you click the purple traingle or green arrow to take or modify attendance, you'll see a list of all your students. Here you can select if students were present (P), excused (E), late (L), or absent (A). and leave remarks. The students CAN see your remarks.
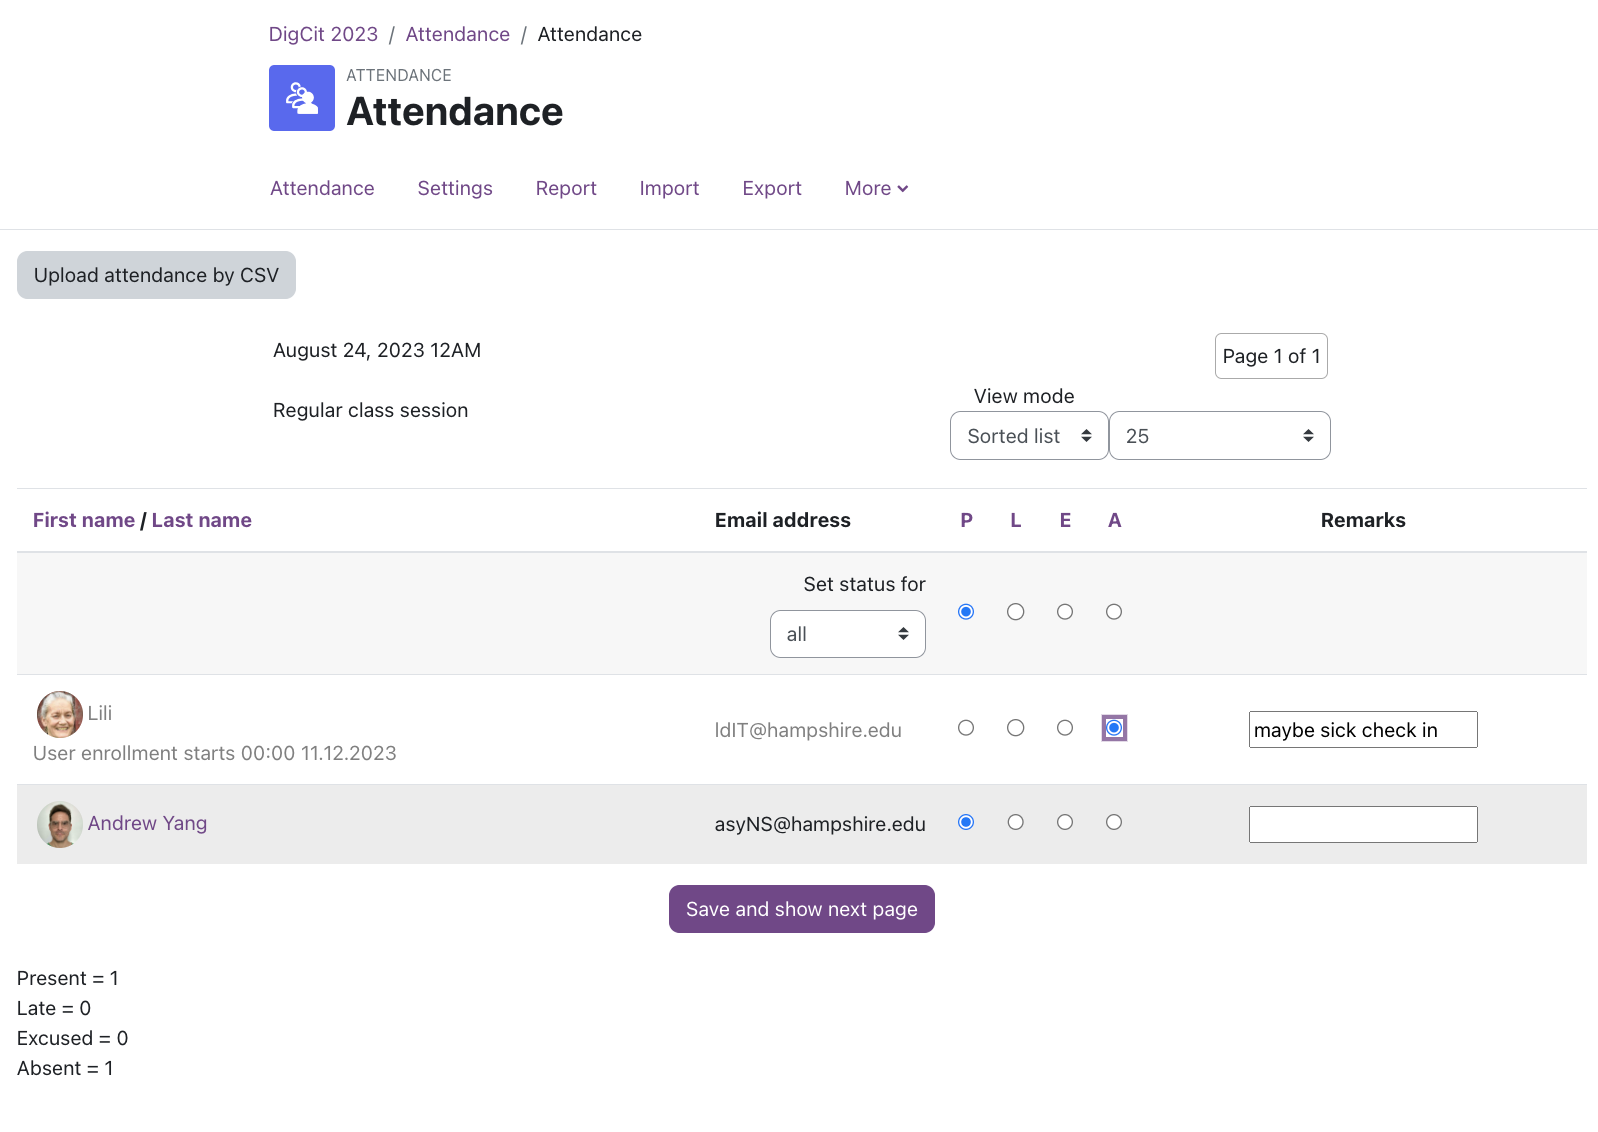
- Click Save attendance to finish.
Reviewing Attendance
- Click the link for the Attendance activity on your course's home page.
- Each session for which attendance was taken will appear as a link, you can click that link to review.
- You can also click the Report tab to see a summary.
-or-
Export a Spreadsheet
- Click the link for the Attendance activity on your course's home page.
- Click the Export tab.
- Leave settings as-is and click OK.
- This will save an Excel spreadsheet to your computer with summary info and a percentage total "grade" for each student. (Moodle Tip: You can edit the attendance types and their "grade" values in the status set tab for the activity- see below).
Optional: Check the Settings
- Click the link for the Attendance activity on your course's home page (if you're not already in it).
- Click the Status set tab.
- This is where you can customize the attendance "types" and their acronyms.
- There is a Points column that assigns a number value to each attendance type. This is how the activity calculates a student's attendance percentage.